Unlock your creative potential and personalize your Roblox experience with this ultimate guide on how to make a decal in Roblox. For the busy gamer who values unique self-expression without endless setup headaches, custom decals offer a fantastic way to brand your creations, enhance your game worlds, or simply add a personal touch to your virtual spaces. This comprehensive resource dives deep into everything you need to know, from designing your initial image to successfully uploading it and applying it in Roblox Studio. Whether you are a seasoned builder looking to optimize your assets or a casual player wanting to leave your mark, understanding the decal process is key. We will cover image preparation, navigating Roblox's moderation system, and practical tips to ensure your custom visuals look great and adhere to community standards. Balancing work, family, and gaming means efficiency is crucial, and this guide is designed to get you creating awesome decals quickly and effectively, making your playtime more rewarding and your creations truly your own.
What is the first step to making a decal in Roblox?
The very first step to making a decal in Roblox is to create or select the image you wish to use. This image will be the visual content of your decal. You can use any image editing software like Photoshop, GIMP, or even basic tools like Paint to design or modify your picture, ensuring it meets Roblox's content guidelines.
How do I upload an image to Roblox to become a decal?
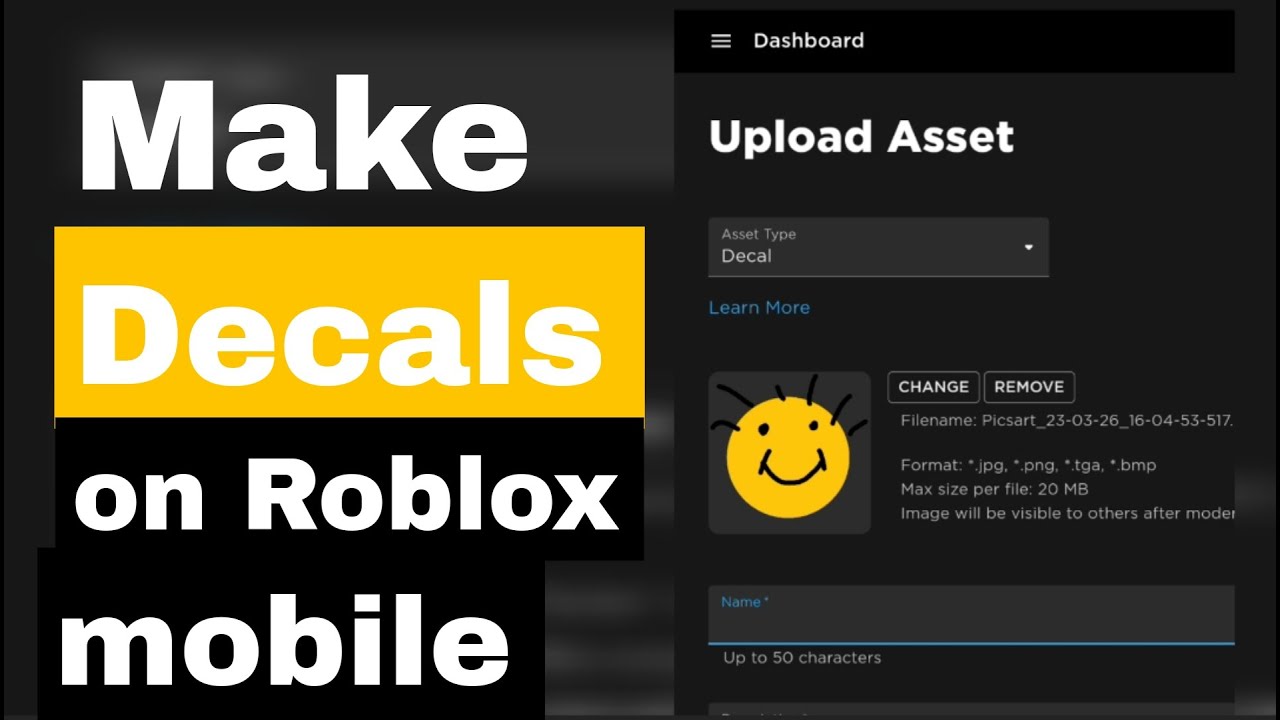
To upload an image as a decal on Roblox, navigate to the Create section on the Roblox website. Select 'Decals' from the left-hand menu, then click 'Choose File' to select your prepared image from your computer. Give your decal a descriptive name and click 'Upload'. It will then enter the moderation queue.
What kind of images are allowed for Roblox decals?
Roblox allows a wide range of images, but they must strictly adhere to their Community Standards. This means no offensive, inappropriate, copyrighted, or personally identifiable content. Images should be safe for all ages and not promote illegal activities or hate speech. Always review Roblox's specific guidelines to avoid moderation issues.
Where can I find my uploaded decals in Roblox Studio?
Once your decal has passed moderation, you can find it within Roblox Studio by opening the 'Toolbox' window. Navigate to the 'My Creations' tab, then select 'Decals'. Your recently uploaded decals should appear there, ready for you to drag and drop onto parts in your game or copy their Asset ID.
Can I make my Roblox decals transparent?
Yes, you can absolutely make your Roblox decals transparent. To do this, your original image file needs to have a transparent background saved in a format that supports it, such as PNG (Portable Network Graphics). When you upload a PNG with transparency, Roblox will preserve that transparency, allowing your decal to blend seamlessly with game objects.
Why is my Roblox decal getting rejected by moderation?
Roblox decals are often rejected by moderation if they violate the platform's Community Standards. Common reasons include containing copyrighted material, inappropriate or explicit content, personal information, or promoting scams. Review the moderation message for specifics, revise your image, and re-upload it adhering to all guidelines.
How do I apply a decal to a part in Roblox Studio?
To apply a decal in Roblox Studio, first select the part you want to apply it to. Then, from the 'Toolbox' under 'My Creations' and 'Decals', drag your desired decal onto the part. Alternatively, you can insert a 'Decal' object into the part via the Explorer, and then paste your decal's Asset ID into the 'Texture' property of the Decal object in the Properties window.
Hey fellow gamers! Ever wanted to leave your unique mark on your favorite Roblox experiences, making them truly yours? For many of us balancing jobs, family, and a precious few hours of gaming each week, personalizing our digital worlds is a huge part of the fun. It is not just about playing; it is about creating, expressing, and connecting. That is where learning how to make a decal in Roblox comes in. Imagine custom signs on your virtual storefront, unique art on your in-game house, or even personalized textures that make your game world truly stand out. It adds a layer of immersion and ownership that standard assets just cannot match.
As busy adults, we value efficiency and impact. We want to maximize our limited gaming time, and that includes mastering new skills like custom asset creation without getting bogged down in complicated processes. This guide is built for you. We are going to demystify Roblox decals, offering a straightforward, practical approach to creating, uploading, and using your own custom images. You will learn the ins and outs, avoid common pitfalls, and confidently bring your creative visions to life in Roblox. Ready to transform your game? Let us dive in.
What Exactly Is a Roblox Decal and Why Should I Make One?
A Roblox Decal is essentially a custom image that can be applied to any 3D surface within Roblox games. Think of it as a digital sticker or texture. Decals are crucial for customization, allowing creators to add unique branding, signs, art, or visual details that are not available in Roblox's default asset library. For the 87% of US gamers who play regularly, often dedicating 10+ hours a week, and with mobile gaming dominating, personalization adds significant value. Decals let you inject personality, making your builds or even entire game worlds truly unique. They enhance immersion, provide crucial informational signs, and are fundamental for creating distinct identities for your projects, fostering a more engaging social experience for players.
What Materials or Software Do I Need to Create a Roblox Decal?
Creating a Roblox decal is surprisingly accessible. The primary 'material' you need is an image file. This can be anything from a photo you took, a drawing you scanned, or an image you designed digitally. As for software, you have many options. For simple edits or text overlays, even basic programs like Microsoft Paint or Apple Preview can work. For more advanced designs, professional tools like Adobe Photoshop or Illustrator offer robust features. However, excellent free alternatives exist, such as GIMP (GNU Image Manipulation Program) for photo editing, Krita for digital painting, or Canva for quick graphic design. The key is to have a program that allows you to create or modify images and save them in common formats like PNG or JPG.
How Do I Prepare My Image for Uploading to Roblox?
Proper image preparation is crucial for a great-looking decal. First, consider the image dimensions. While Roblox resizes images, a square aspect ratio (e.g., 512x512, 1024x1024 pixels) often yields the best results, preventing distortion. Second, think about transparency. If you want your decal to have a non-rectangular shape and blend seamlessly, save your image as a PNG file with a transparent background. JPG files do not support transparency. Third, ensure your image adheres to Roblox's Community Standards. Avoid anything copyrighted, explicit, hateful, or depicting real-world personal information. Taking these steps upfront will save you time and frustration during the moderation process.
What Are the Steps to Upload My Image as a Decal on Roblox?
Uploading your prepared image to Roblox is a straightforward process. Follow these steps:
Log In: Go to the Roblox website and log in to your account.
Navigate to Create: Click on the 'Create' tab at the top of the page. This takes you to your Creator Dashboard.
Select Decals: In the left-hand menu, under 'Creations', click on 'Decals'.
Choose File: Click the 'Choose File' button and select the image file from your computer that you prepared earlier. Make sure it is in a supported format like PNG or JPG.
Name Your Decal: Give your decal a clear and descriptive name. This helps you find it later in Roblox Studio and helps other users understand its content if you choose to make it public.
Upload: Click the 'Upload' button. Your image will then be sent for Roblox's automated and manual moderation review.
Once uploaded, your decal enters the moderation queue. You will need to wait for it to be approved before you can use it in your games.
How Does Roblox's Moderation Process Affect My Decals?
Roblox takes content moderation very seriously to maintain a safe and inclusive environment for its diverse user base, including the many Gen Z and Millennial players. When you upload a decal, it goes through an automated system first, which screens for obvious violations. If flagged, it then proceeds to manual review by Roblox moderators. This process can take anywhere from a few minutes to several hours, or even longer during peak times. Decals are rejected if they contain copyrighted material, inappropriate or explicit content, personal identifying information, or anything that violates their Community Standards. Frequent rejections can lead to warnings or even account suspensions, so always double-check your images against the guidelines before uploading.
Can I Use Copyrighted Images for My Roblox Decals?
In short, no. Using copyrighted images without explicit permission is a strict violation of Roblox's Terms of Service and intellectual property laws. While it might be tempting to grab an image of your favorite character or brand, doing so will almost certainly result in your decal being rejected by moderation. Repeated infringements can even lead to account penalties. To stay safe and keep your account in good standing, always use images that you have created yourself, are licensed for public use, or fall under a public domain designation. This ensures your creations are unique and compliant, avoiding unnecessary headaches and allowing you to focus on the fun of building.
How Do I Apply a Decal to an Object Within My Roblox Game?
Once your decal has been approved by moderation, it is time to put it to use in Roblox Studio. Here is how:
Open Roblox Studio: Launch Roblox Studio and open the game or place where you want to apply the decal.
Insert a Part: If you do not already have one, insert a part (e.g., a Block) into your workspace where you want the decal to go.
Access Your Decals: Go to the 'Toolbox' window (View tab > Toolbox). Select the 'My Creations' tab, then click on 'Decals'.
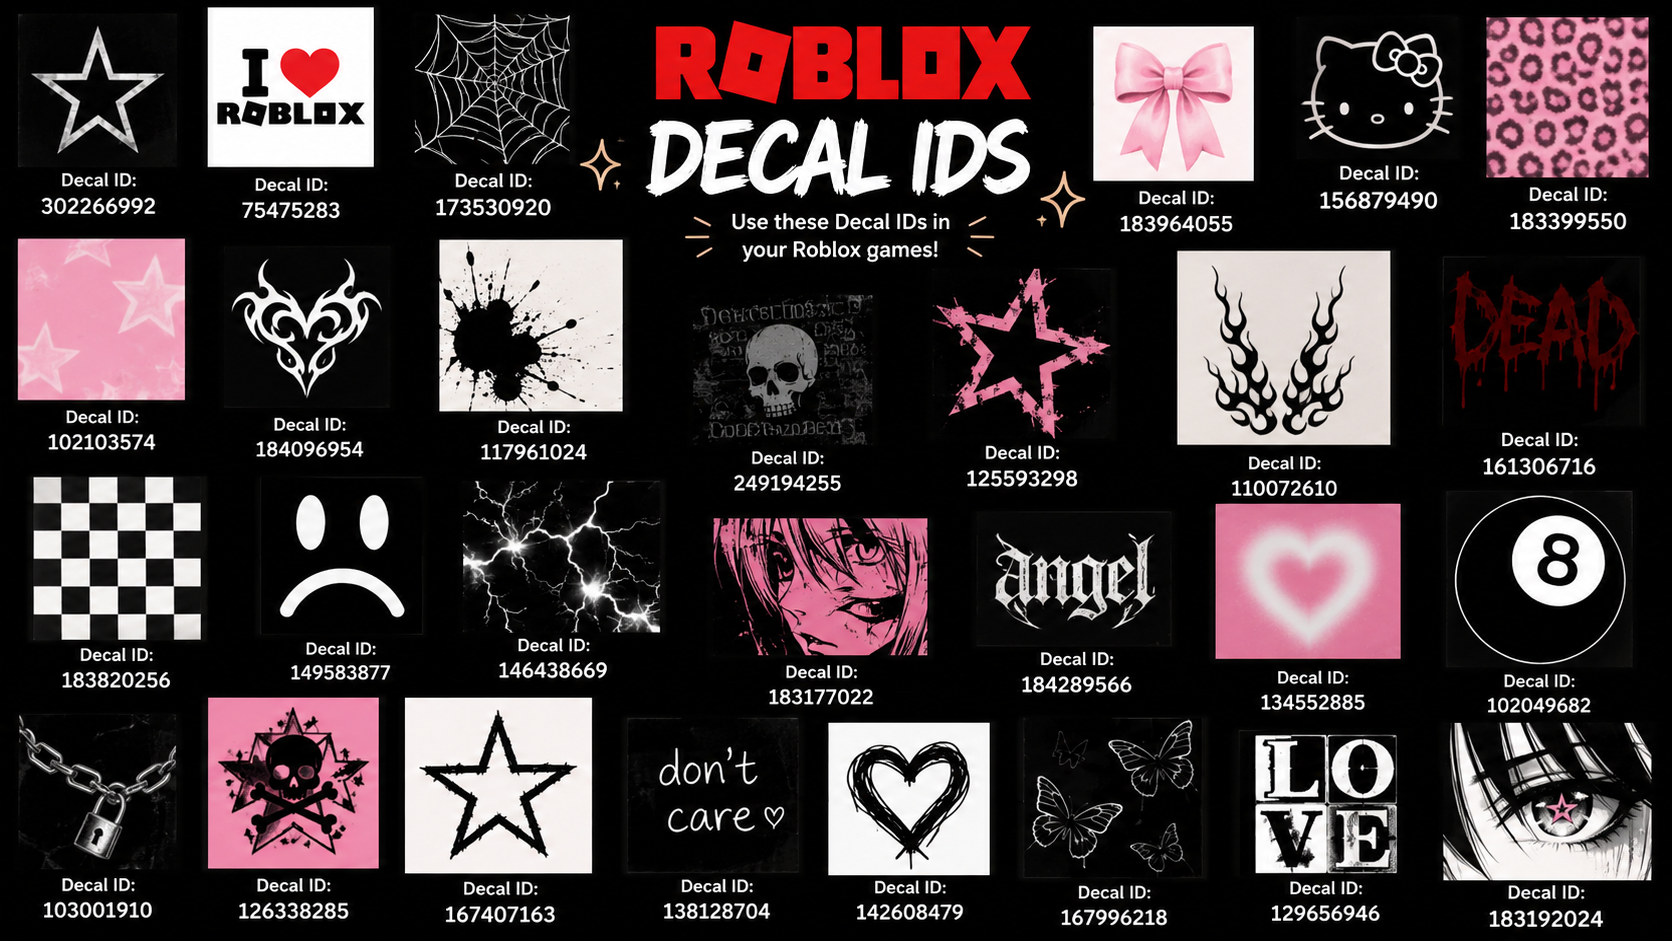
Apply the Decal: Locate your approved decal in the list. You can either drag the decal directly from the Toolbox onto the desired surface of your part, or you can right-click the decal, select 'Insert with ID', copy the Asset ID, then insert a 'Decal' object into your part via the 'Explorer' window and paste the Asset ID into the 'Texture' property of that Decal object in the 'Properties' window.
Adjust as Needed: Once applied, you can manipulate the Decal object within the part's properties to change its size, orientation, and other visual aspects, ensuring it fits perfectly.
What Are Some Common Issues When Making Roblox Decals and How Can I Fix Them?
Even seasoned creators run into snags. One common issue is **decal rejection during moderation**. This usually means your image violated Roblox's Community Standards (e.g., copyrighted content, inappropriate imagery). The fix? Carefully review your image, make sure it is original and age-appropriate, then re-upload. Another problem is **poor image quality or stretching** once applied. This often stems from using a low-resolution or non-square image. The solution is to start with a high-resolution, square image (e.g., 1024x1024 pixels) and ensure you are applying it correctly to avoid unwanted stretching. Lastly, **transparency not working** usually means you saved the image as a JPG instead of a PNG. Always use PNG for transparent backgrounds!
What Are Best Practices for Making High-Quality, Impactful Roblox Decals?
To ensure your decals truly stand out, adopt these best practices. First, **use high-resolution source images**. A crisp original will always look better, even after Roblox compression. Second, **design with purpose**. Consider where and how the decal will be used. Is it a logo? A texture? A sign? This helps dictate dimensions, transparency, and overall style. Third, **optimize for performance**. While not a huge factor for single decals, excessively large files can add up. Aim for reasonable file sizes. Fourth, **test thoroughly in Studio**. Always apply your decal to various objects and lighting conditions to see how it looks in-game. Finally, **stay current with Roblox updates**. The platform evolves, and sometimes best practices for asset creation do too, so keep an eye on official developer forums for the latest advice.
How Can Custom Decals Enhance My Social Gaming Experience in Roblox?
Custom decals are a secret weapon for social gaming. In a platform where social interaction is key, custom visuals allow you to personalize shared spaces like group hangouts or role-play worlds, fostering a stronger sense of community and belonging. Imagine your gaming squad having its own custom emblem on a shared base, or a unique flag representing your in-game faction. This kind of visual identity strengthens bonds and provides a tangible representation of your collective in-game presence. It encourages interaction, ignites conversation, and makes every shared moment feel more personal and memorable, aligning perfectly with the trend of social-first gaming that's booming this month.
So there you have it! Creating your own decals in Roblox is not just a technical skill; it is a gateway to deeper self-expression, richer game design, and more engaging social experiences. For adult gamers balancing life's demands, this is a perfect way to infuse creativity into your limited play time, leaving a lasting mark on the Roblox universe. The satisfaction of seeing your unique creations come to life is immense, and it elevates your gaming beyond just playing to true creation.
What is your biggest creative challenge in Roblox? Comment below and let us help you solve it!
FAQ Section
Can non-premium users upload decals?
Yes, all Roblox users can upload decals. Premium is not required for basic decal creation and uploading, though some advanced features or larger quantities might vary for assets generally.
How long does Roblox moderation take for decals?
Moderation for decals typically takes a few minutes to a few hours. In some cases, it might take longer if manual review is needed. It is best to upload well in advance of when you need it.
What is the ideal resolution for a Roblox decal image?
For best results, a square image (e.g., 512x512 pixels or 1024x1024 pixels) is recommended. While Roblox resizes images, starting with a clear, appropriately sized image prevents quality loss and ensures your decal looks sharp.
Can I delete a decal after I have uploaded it?
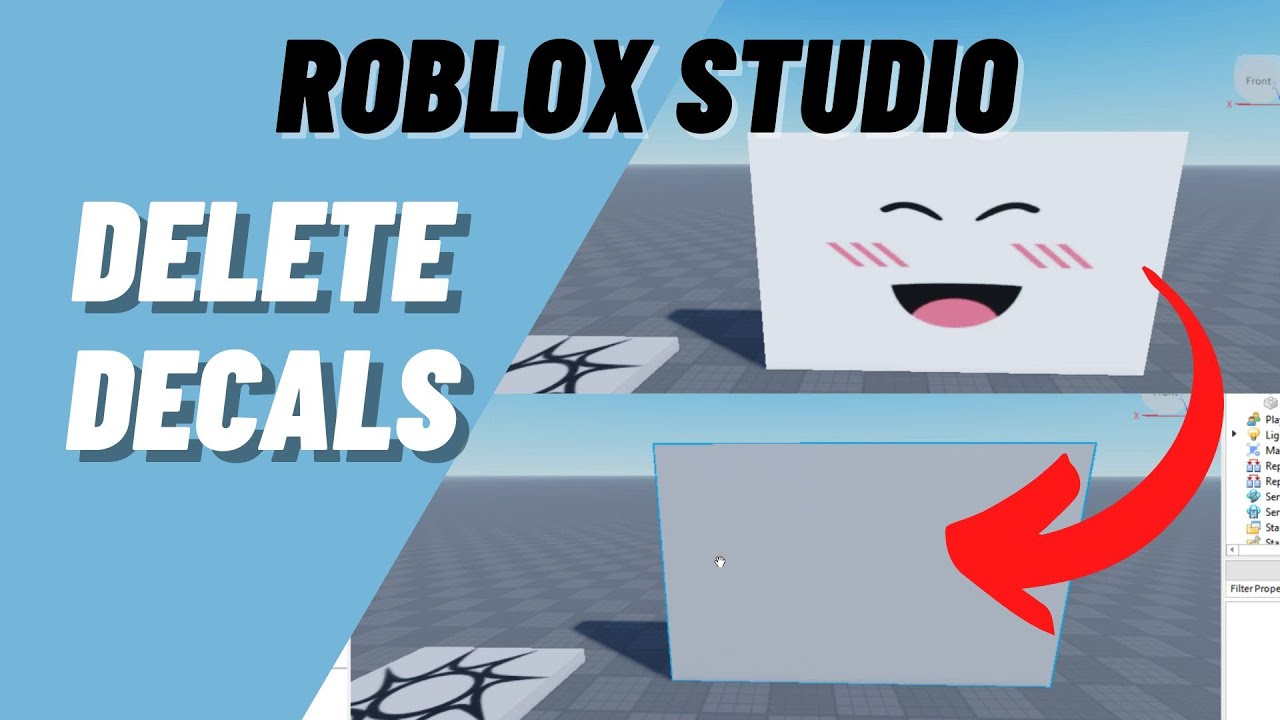
Yes, you can archive a decal from your Creations page, which effectively removes it from public view and stops it from being used in new games. However, it might still exist in games where it was already applied and published.
Are there any size limits for decal image files?
Yes, Roblox has file size limits for uploaded assets. While specific numbers can change, generally, keeping image files under 10MB is a safe bet. Optimizing image quality without excessive file size is a good practice.
Why does my decal look blurry in-game?
A blurry decal often results from using a low-resolution source image or from Roblox's texture compression. Always start with a high-resolution square image, and ensure the part you apply it to is appropriately sized to avoid excessive stretching.
Easy steps to create unique Roblox decals. Personalize games with custom images. Understand Roblox moderation for decals. Boost creative expression in Roblox. Tips for optimal decal appearance.
35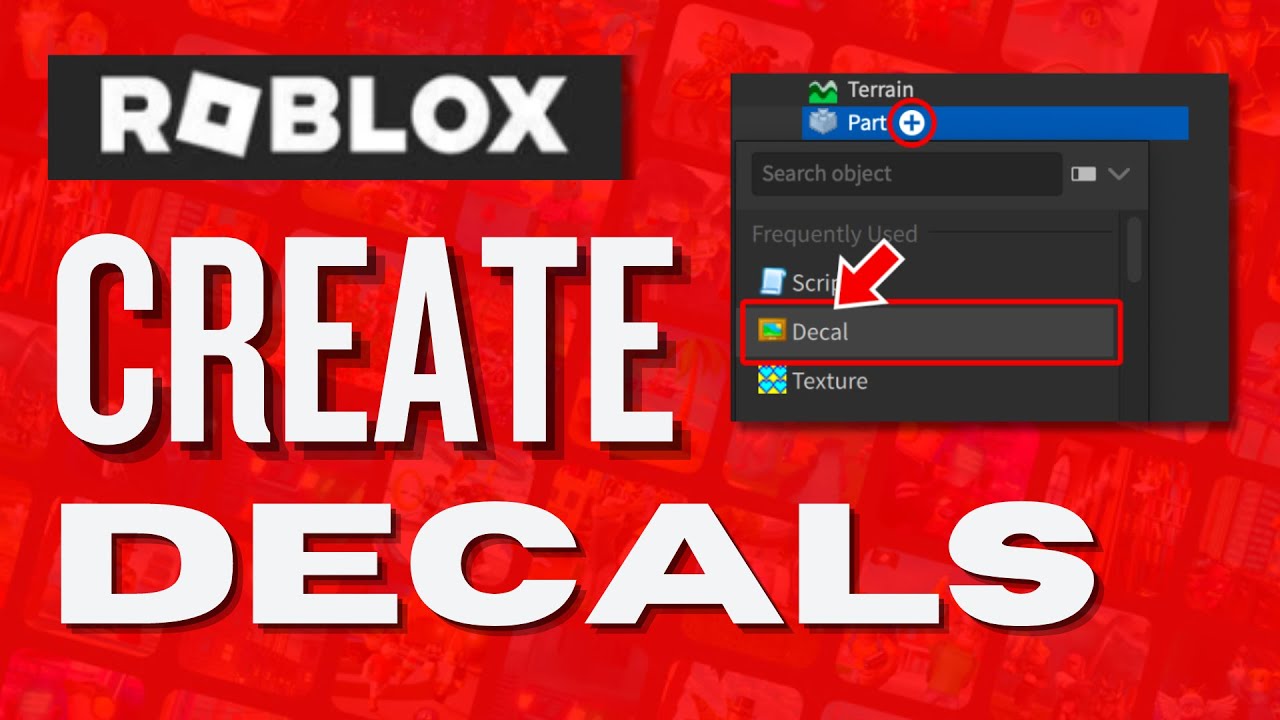



How To Create A Decal In Roblox . Word Decals Roblox Textures And Decals Roblox . How To Make Decals In Roblox Full Guide YouTube . How To Make Decals In Roblox YouTube . How To Make Decals In Roblox YouTube


How To Make Decals In Roblox 2026 YouTube . How To Make A Decal On Roblox Roblox Create Decals YouTube . Flipped Decals Fixing Roblox Studio Woes . How To Make Decals In Roblox 2025 YouTube . How To Make Decals In Roblox YouTube
How To Make Roblox Decals For Bloxburg . How To Create A Decal In Roblox . Flipped Decals Fixing Roblox Studio Woes . How To Make Custom Roblox Decals A Step By Step Guide. Roblox Decal IDs And How To Use Them In Studio Roblox Decal Ids


Flipped Decals Fixing Roblox Studio Woes . How To Make A Decal Id For Roblox MIIKME . How To Make A Decal In Roblox Full Guide YouTube . How To Make Decals On Roblox 2025 IOS ONLY IPhone Wired 1745077203 . How To Make Decals In Roblox 2024 Guide YouTube


How To Put On Decals In Roblox At Rita Magno Blog . How To Make Decals In Roblox Mobile 2024 YouTube . How To Make Moving Decal In Roblox Studio Use Free Model 800x450. Flipped Decals Fixing Roblox Studio Woes Hqdefault . How To Create Decals In Roblox Easy And Simple YouTube


What Are Roblox Ice Decals For 2026 Best Decal Ids Roblox . How To Create Decals Using Roblox Mobile Quick Easy YouTube . HOW TO MAKE DECALS ON ROBLOX YouTube . How To Make Decals In Roblox Full Guide YouTube . How To Add A Decal In Roblox Studio 2020 At Tanya Serna Blog


How To Make A Decal Roblox Tutorial YouTube . How To Make And Upload Decals In Roblox Mobile Or PC Roblox Studio . How To Make Decals On Roblox YouTube . What Exactly Is A Roblox Decal And How Can You Use Them Id Decal Roblox Image . Roblox How To Make Decals Yandex G Rsel De 1 Bin G Rsel Bulundu I